The Hobbyt: Cross Stitch

Cross stitch is probably the very first hobby I got myself into. I still have a few pieces at our home in Cavite where my works are still displayed. Due to COVID I found myself looking for hobbies to do and here I am getting back to the original hobby I loved. What do you know? I didn't have problems getting back to it at all!
If you find yourself trying out cross stitch as well. don't worry I can help you with that. This is your ultimate guide!
PREP YOUR TOOLS
Unlike most hobbies, you can get by with barely any tools. Usually the kits that you buy already include the pattern, advised aida cloth and the numerous threads that you will need.
VERY IMPORTANT TOOLS:
1. Needles
The only needles you need are the ones that have the large holes and dulled tip. You may use the normal needles but the stabby part would hurt your fingers, and it's not needed since the cloth you use are already dotted with holes. Prepare a lot of needles. I bought 6. You'll never know when you will lose or even destroy one. I remembered when I was younger that I have actually broken a needle on the hole part. The 6 are still there and it's also good if you want to thread a couple at once.
PRO TIP: Get yourself a magnet to store all your needles in place.
3. (Dedicated) Scissors
For the love of all things holy, get yourself your own scissors. Refrain from using scissors you use for paper, hair, or even the oily one from your kitchen. I highly recommend getting a spring scissor so you have no need to put your fingers on the holes. It saves a tiny fraction of time but doing so ensures that when you're in the mood you don't have to worry about getting the scissor just right because it will always cut. Your ol' regular scissors have a proper orientation to use or else you'd be on the blunt side.

2. Floss Bobbins
Bobbins cost cheaply nowadays, do yourself a favor and get some. This is important since you want your threads to be easily found when you need it.
PRO TIP: Label your bobbins with anything that you have on hand, be it masking tape, or in my case I used a labeler and I scanned and printed on sticker paper the symbols so it's easy to locate the next thread I would need since all patterns are in symbols! Also, like everything else, it's nice if they have their own storage so you don't have to worry something is missing on your list.

OK, FINE BE FANCY TOOLS:
1. Threader
The thing is you don't need it. There are two ways where you can put threads in needles which I will teach you later on. But if you're not convinced with my technique, go get yourself some.
2. Embroidery Hoop
You need this if your means of threading is the slow (and probably the correct) one, which is putting your thread in from the top and getting it back from behind with your threading hand. I appreciate people's patience in doing cross stitch this way, but I apologize I see no difference in the end result so I'm keeping my technique.
3. Winder
This is what you use to "wind" the bobbin from the skeins. I fancy one too, but you can do it on your own by manually rotating the thread over the bobbin. I mean, what's so hard?
HOLUP, WHERE TO START?
Before anything else, make sure that you put some masking tape all over the edges of your aida cloth. This is to prevent the edges from fraying especially if you're going to work on a piece for a long time. You can simply remove this when you're ready to frame it.

Now where to start. It's easy. Start at the middle. The reasoning for this is because it will ensure that your piece is in the middle of all sides, and you wouldn't in your horror find out in the end that you're at the edge of the cloth you're working on. This is actually true in the pattern as well. There's a special symbol that tells you which is the center of your pattern. To translate that to your cloth, it's easy, fold your cloth twice (or thrice depending on how large your cloth is) and start at the middlemost hole. In my piece I started at the middle, finished up to the top, then at the bottom (an entire rectangle of stitches). From there you can go left or right or wherever.
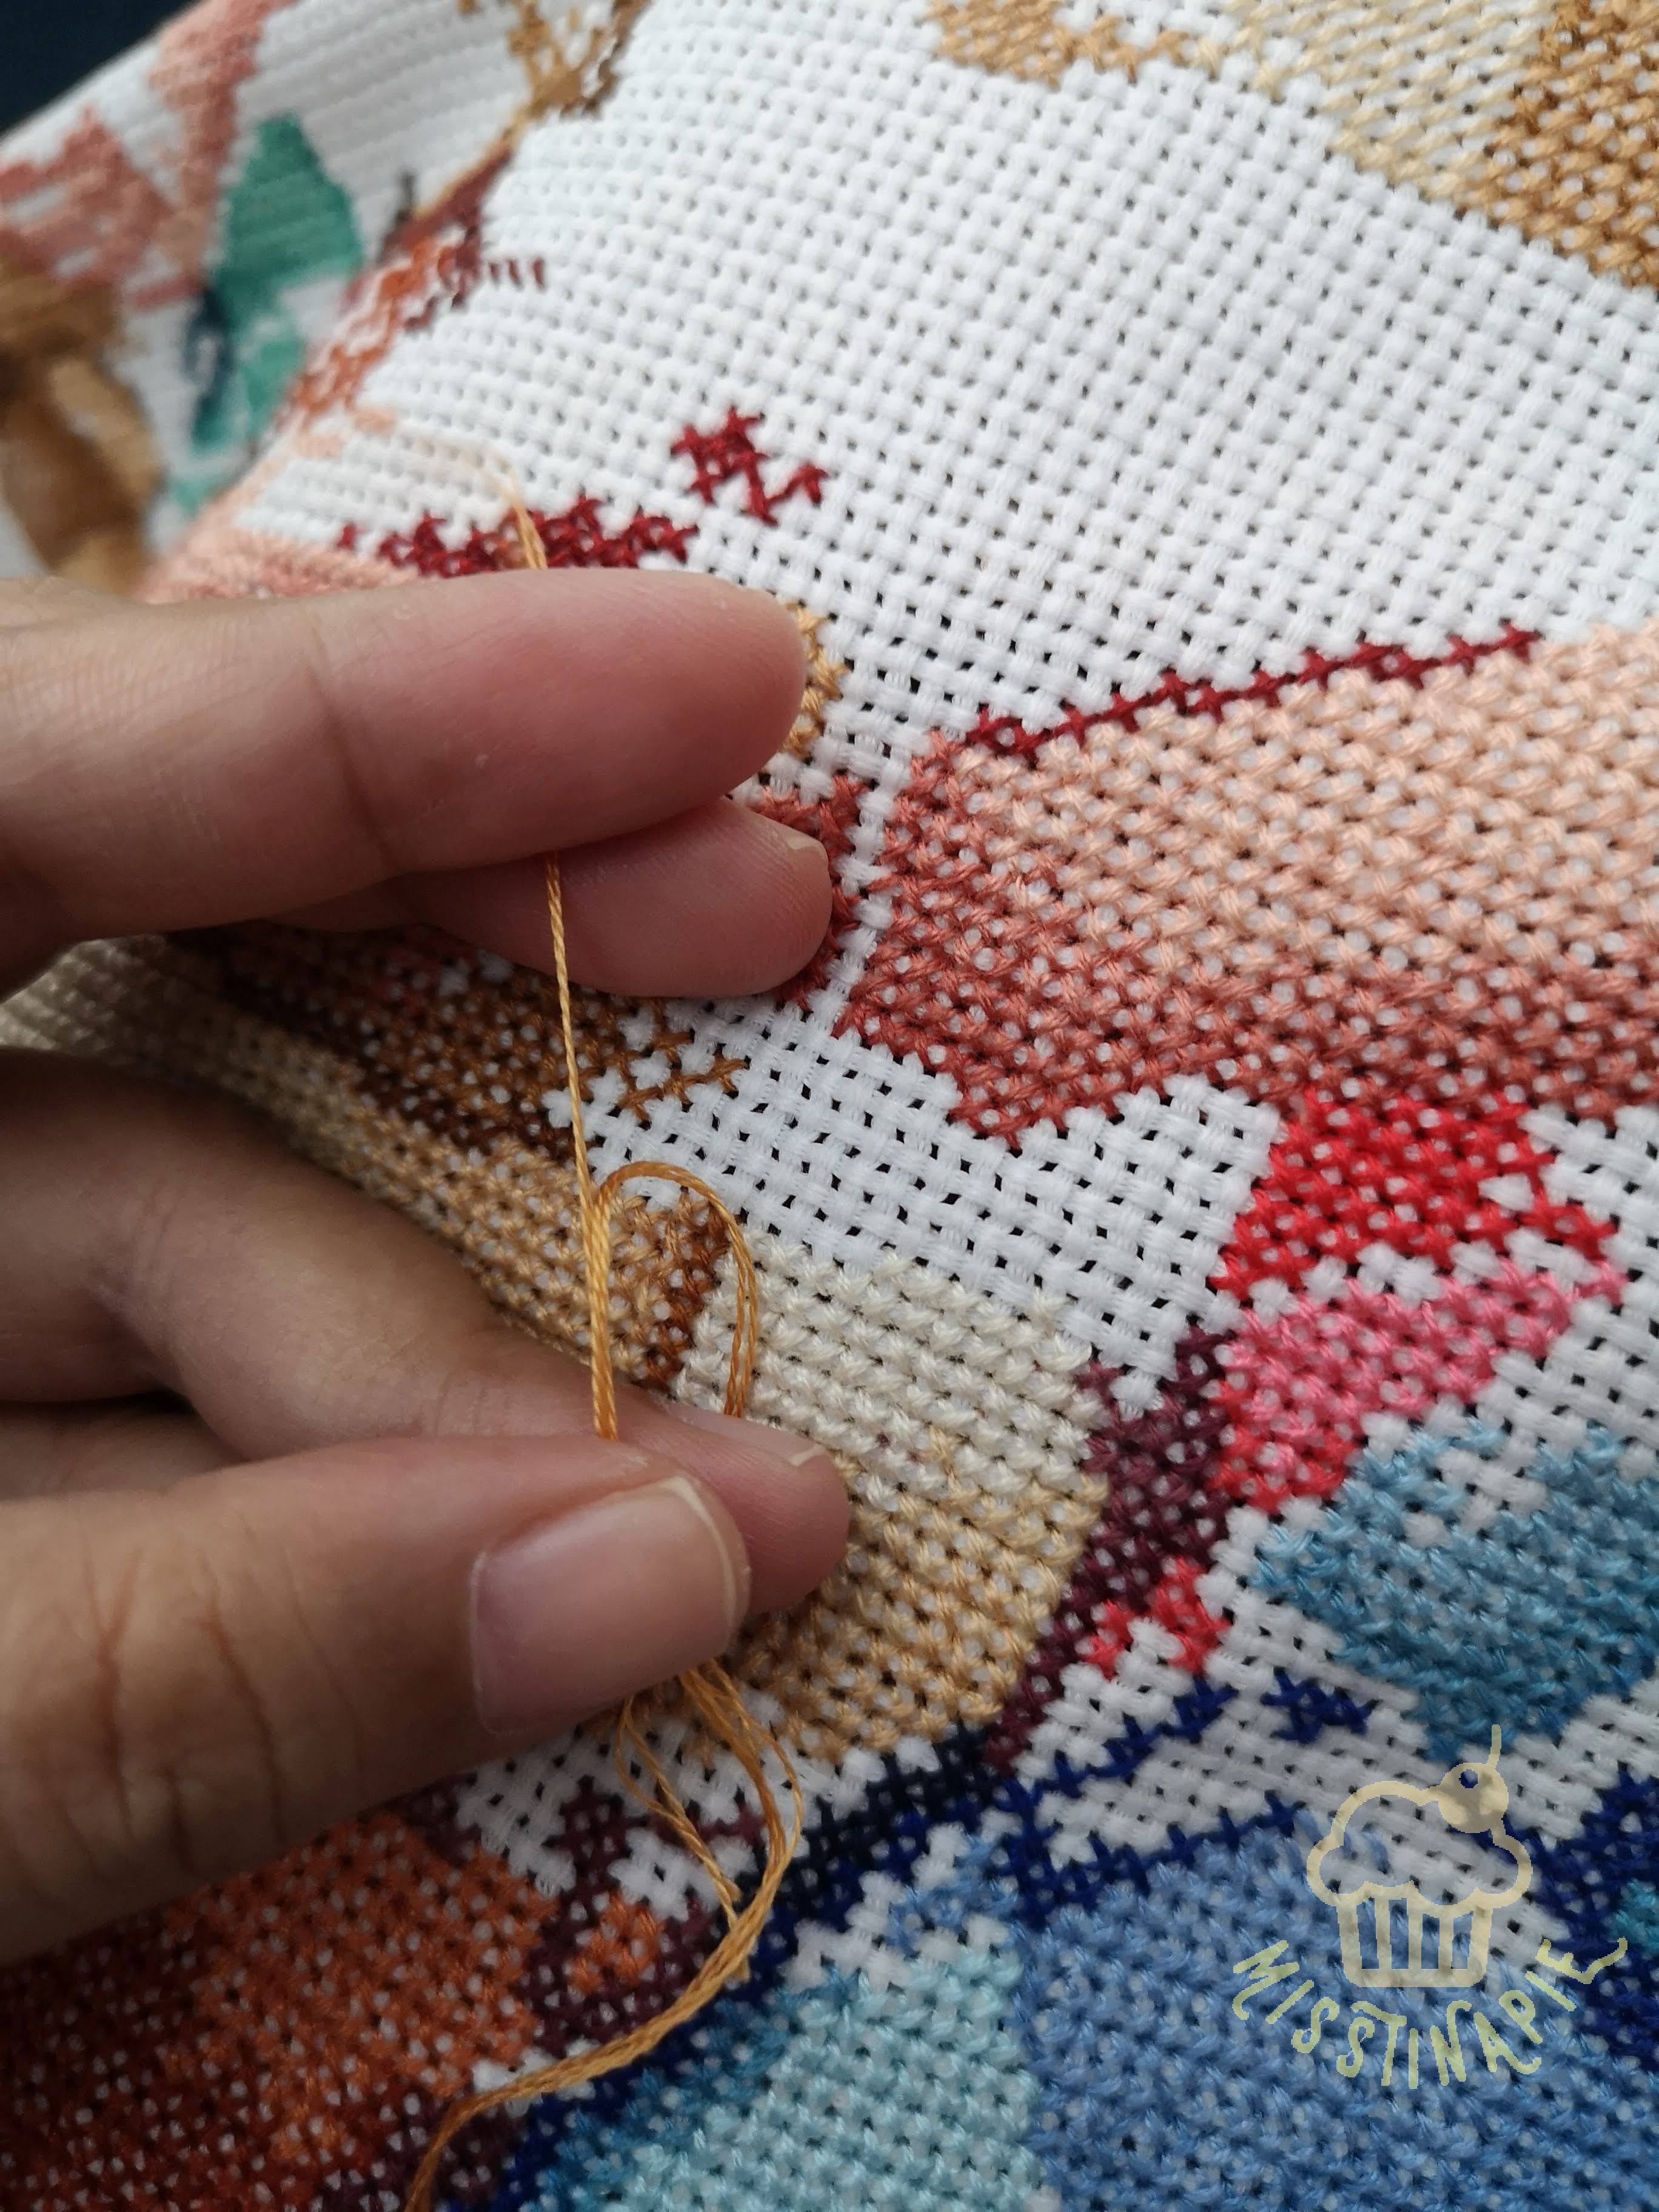
Getting threads
Cut about an arm's length of the thread you are going to be using. To be specific your starting point is from the middle of your chest to your normal reach, arm outstretched. The reason for this is it's the maximum you can pull the needle while your thread is "new". Longer would make it much more laborious for you to pull your thread as you stitch (and prone to tangling), and too short would be wasteful in thread as you have to cut and reserve a length to close your stitches.
Now after you've cut your thread, pick a piece because (a typical skein consists of 6 intertwined threads), you need to separate them. What I would do is I would select two (or depends on the kit, you should be able to see the recommended # of threads to be used in your pattern) and gently pull them away from the rest of the threads. I couple it by loosening the skein through rolling it in between my finger tips until it comes free and at times putting my finger in between the threads I'm separating it from.


Getting your thread in the eye of the needle
DO NOT, I REPEAT, DO NOT WET YOUR THREADS WITH YOUR SALIVA.
No please. Not only would you compromise the color of the thread, sometimes it could transfer to your fabric and also it's unhygienic. What you can do is either get yourself a threader or press the threads tightly with your fingers and just push it in the big hole. Another trick is you pick any part of the thread, fold it in two and have the pressed part meet the needle's hole.

Use your needle to any part of the thread to herd all the threads.

Remove the needle and press on it as hard as you can until all threads look like just a small point.

Carefully press your needle in between your fingers so that the thread will be inserted into the needle's eye.

Carefully pull the inserted thread and pull one of the couple to the other side of the needle. Viola it's in!

Make sure that you you have the exact number of threads.
Starting a line / ending a line
Another thing that you should not do in cross stitch is tying a knot at the end of your threads. Not only would it look bad on the back of your embroidery, there is a much better way to secure your lines. Since aida cloths are grids with tiny gaps in between, you can just simply pull your threads in the middle of the gaps and it will keep it's place no matter how long you do your project. You can either do 2 or 3 lines. I prefer 3 since it feels more secure.

This is from the back. I usually point my needle towards the direction where I'm going to start.
How to actually cross stitch
Cross stitch is pretty much straightforward, it's just literally what it is, an X stitch. Doing it is a different manner though. For me the best is when you just cross your Xs in one direction. This ensures that the back of your canvas is neat even though no one is gonna look at it. Other than aesthetics it's also because it is easier to to undo the stitches since it's just in one direction. It would take a few times for you to intrinsically get it but once you do, you'll realize it does make life easier.
The correct way to cross stitch is insert the needle with your stitching hand, pulling said needle UNDERNEATH the cloth, bringing it up from underneath on the next hole, pulling the thread up again. Repeat till done. This is what's proper. In my case I don't do it since I find it a waste of time personally. I would rather punch two holes at a time to make a diagonal stitch, with railroading of course (putting your needle in between the threads). So far the stitches I make looks nice in my eyes.


Front

Back
In terms of "picking" which part you do first (sometimes it's daunting), I usually aim to reach both the top and bottom and then the sides to ensure that the entire canvas I'm working on is not wonky. It would be devastating if after you've filled everything in the middle you find out that none of your sides match, I usually do the outlines first, let's say a face because IF I commit a simple color swap inside of it, it won't affect the rest of the stitches outside of the face. Pick markers on how "correct" your current area is like if it's 10 stitches on the left of a certain area to ensure that what you're doing is still correct.

For example, the yellow one should have a number of blank cells to make way for other threads in between the brown and the blue threads exactly as the what it's required from the pattern.
I also make it a point to finish the thread my current needle has and fill up any other area with the same color. This ensures that I always fully utilize the current length of thread I have and work on different areas at the same time.
Extra tip if you have gadgets / tech savvy
Another extra tip, you don't need it but in case you do have a tablet or an Ipad, scan your entire pattern (it can take a lot of pages but don't worry), lay it out on either Paint or any platform you prefer to stitch all the patterns you're working on and open it at One Note. From there you can use the highlight pen so you can mark the patterns as you go, and dreadfully sometimes when you have to backtrack, you can easily remove the highlight like as if nothing happened. You can't do the same with paper since once you've marked an area, it's already marked for life. Also, this ensures that you can replicate your work numerous times, you just need to buy threads which are very easy to do. It would be wise to keep your original pattern untainted so you can pass it on to your families who would like to do the same design.

And there you have it. That's how you do cross stitch.
Cross stitch is one of those hobbies that are actually fun if you like your own company since it involves a lot of "me time". I would usually just sit in a corner, maybe listen to a podcast or "watch" a TV show when I feel like it since it doesn't need for you to constantly look at either your pattern or your cloth at all times. I do find myself commit mistakes but I just back track with an audible sigh of helplessness. It does give me happiness when I see the final work. It takes hours and hours but it's a very good hobby to wind down and relax.
In the Philippines, the easiest stores you can look for kits and threads are from DMC Philippines which you can both visit online and in stores. They usually have all that you need. There are even other FB pages that sell them much cheaper, so just pick whichever store you choose. Happy stitching!


Comments
Post a Comment