The Hobbyt: Diamond Painting
I was on my 5th month I think, of doing the Miniature House when I stumbled upon a good page for Diamond Painting kits. I've known this hobby for some time now but the ones in Shoppee / Lazada are too kitschy. I liked one, a picture of a cow, colorful and looked tribal-ish but based on the comments it's not what they deliver, mainly because the post is bundled with different kits. I don't want to be stuck with an annoying holiday kit so when I attempted to look for it in FB and found a good piece, I didn't hesitate and bought it right away. Their store is so efficient that I ordered it by morning and got it around lunch.
Much like cross stitch, Diamond Paintings are fairly easy to follow. You find the symbols that represent the color and apply it on with the provided "pen" that you dip on a wax and apply it directly on the sticky parts of the canvas. The hardest thing with here though is how you could control the light to make it easier to see the tiny symbols. What I did was bought a light pad (used for tracing drawings) and an additional desk light to make it easier for my eyes to follow.
Some additional tips:
1. When applying the diamonds do a checked pattern to fill it in. The logic here is that putting it so will make the gaps tighter and in line with the rest of the diamonds already applied.
2. Buy those small zip lock bags, move your diamonds on it and label it according to the numbers it came up with. I noticed that it's easier to get the bits and back because the plastic cannot be closed again. I tried it first with a tape but it ended up being a hindrance on my rhythm. I got those small bags at the 99 store but if you would like a cheaper version get one from Divisoria instead.
3. Finish an opened patch you could only finish in one sitting. I rarely open a waxed part so it won't be exposed that it would lose it's stickiness.
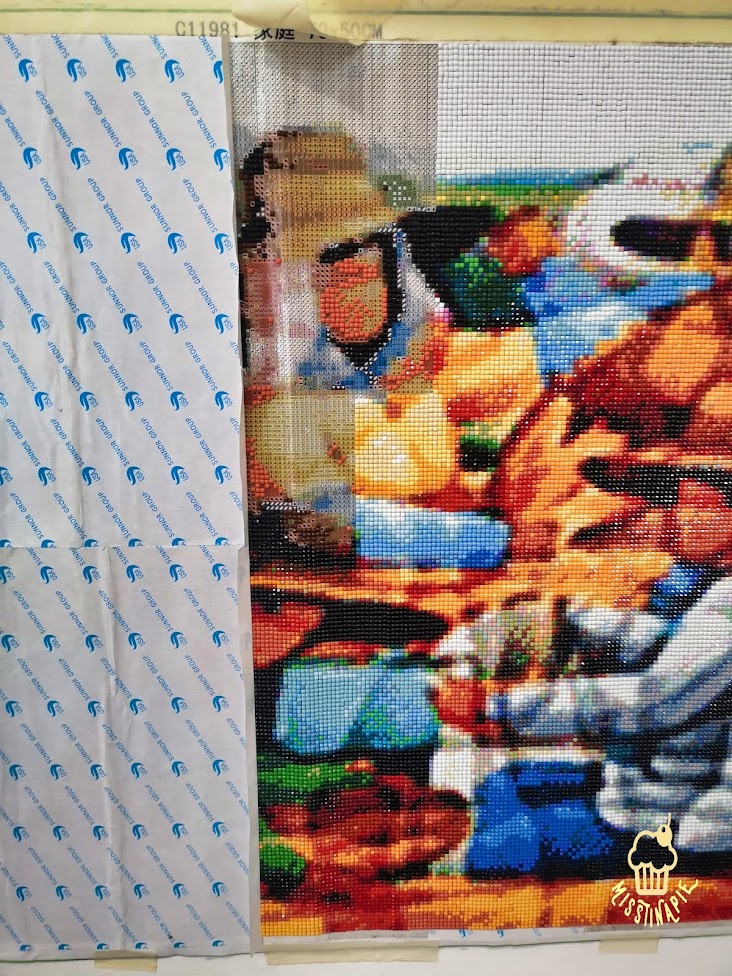
Diamond Painting is easy but it involves a long long longggg time to finish. I already clocked around 20-40 hrs on it and it's barely 1/8th of the piece. Below is since I've last done any work which was more than a month ago (too busy).
I'll do my best to get back to this soon, hopefully before 2020 ends? I would also like to monitor my progress with a vlog so hopefully I could do it once I get more free time. Updates will be posted as I go along.
COVID UPDATE
(26/07/2020)
Having too much time this quarantine actually brought something good, having all the spare time to finish the entire thing. I have moved from the table to the wall, forcing me to stand at times which is much better than spending hours hunched over hurting my neck. I actually enjoyed it on the wall, and would be my option when I plan to buy more kits in the future. To finish I have 3 sessions each day, an hour before work, an hour by lunch and another 2 or more hours in the evening. Weekends are also spent on this, in between times when I bake.
It does not look like it on the photos but this is what happened when I incorrectly put on two colors in one bag. They have slight nuances that you can only appreciate when you look at it in person. One has a dull white color and the other one is shinier. I had to spend some good minutes sorting them out.
One of the disadvantages of hanging it on the wall though is that you some diamonds are prone to popping off. After a while I eventually resolved it by sealing it piece by piece whenever I finish a section with a Mod Podge Super Gloss (blue). For the entire painting I was able to consume most of the mod podge. Diamonds are supposed to be shiny but it even shinier. I mean look below:
Applying generously (with a foam brush) made the tiny gaps in between filled it up like as if it it were tiny tiles with grout. I actually liked looking at it because it made everything tighter. Another advantage of the mod podge it is also for my peace of mind that I would never have to worry that diamonds would fall off in the future. It was so effective even that when I have transported it for framing none of it came off. Also another tip if you're going to roll it up again, roll it with the beads facing out to prevent it from being squished from the inside. Make sure as well that you don't roll it up too tight and for extra protection add something to stabilize the hollow core (tissue, newspaper, etc).
The last bead left
IT IS DONE!!!
I was able to finish it on a May 1, 6PM. Yeap! On labor day! The hobby is not hard but sometimes it gets frustrating. I estimate I have spent a minimum of 1000 hours for this piece. This would be easily resolved if I haven't bought a very large piece but it's hard to look for pieces that I can be proud of hanging on my wall. There's just so many designs that are either gaudy or too corny. I hope we get more local artists that allow their work to become diamond kits in the future.
Below are my suppliers:
Diamond Painting - https://www.facebook.com/darlasbeadsandcrafts
Storage box and other accessories (although I bought them after the fact. I intend to buy more in the future after all) - https://www.facebook.com/diamondpaintingshub
Mod podge and foam brush - https://shopee.ph/craftinker


Comments
Post a Comment